


Adobe Photoshop has embraced Artificial Intelligence (AI) through its Adobe Sensei technology—a powerful AI engine that automates complex tasks and enhances creative workflows.
Whether you’re a professional designer or a hobbyist, learning how to use AI in Photoshop can help you:
- Save time
- Improve image quality
- Remove unwanted objects effortlessly
- Generate realistic content from text prompts
Let’s dive into how you can start using AI in Photoshop today.
🔧 Step-by-Step: How to Use AI in Photoshop
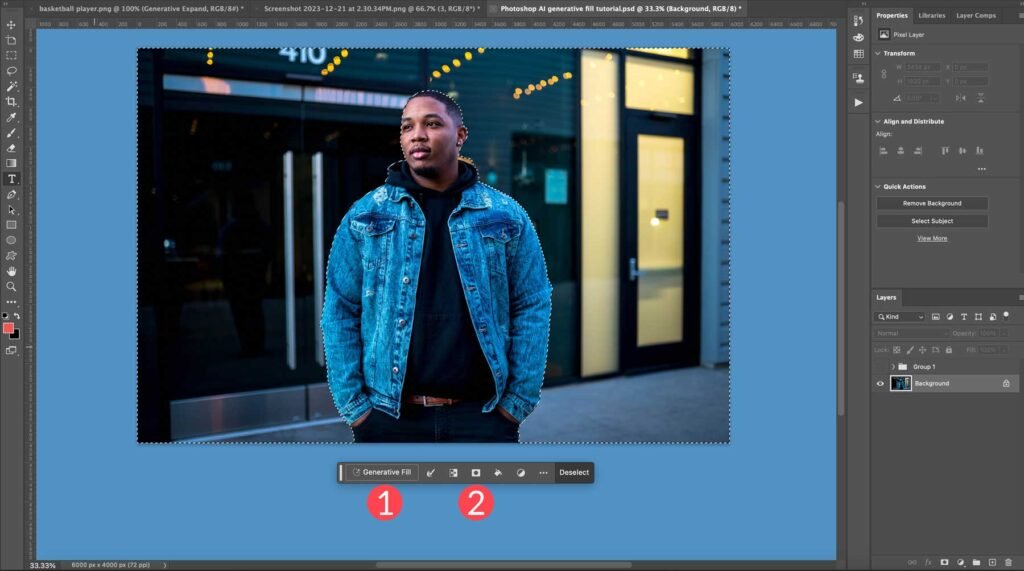
1. Use Generative Fill (with Adobe Firefly & AI)
[Image Placement: Mid-Content Image]
What it does:
Generate new content from a text prompt or extend parts of an image seamlessly.
How to use it:
- Select the area you want to expand or modify.
- Go to
Shift + G(to activate Object Selection Tool). - Click on “Generative Fill” under the Properties panel.
- Enter a text prompt describing what you want added or changed.
- Click Generate and Photoshop will create it using Adobe Firefly AI.
📌 Best for: Background generation, object removal, creative expansion.
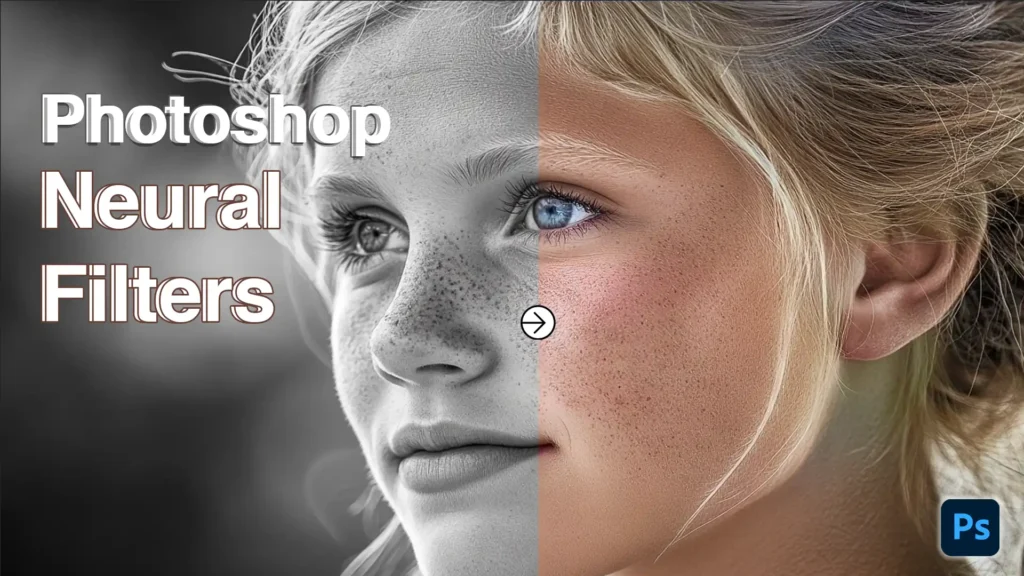
2. Enhance Portraits with Neural Filters
What it does:
Apply smart filters powered by AI models to adjust facial features, expressions, age, lighting, and more.
How to use it:
- Go to Filter > Neural Filters .
- Sign in to your Adobe account (requires cloud connection).
- Choose from filters like:
- Smart Portrait – Adjust age, expression, gaze, and pose.
- Skin Smoothing – Smooth skin automatically.
- Style Transfer – Apply artistic effects inspired by famous artists.
- Adjust sliders to customize the effect.
📌 Best for: Retouching, portrait editing, and creative looks.
3. Remove Objects Automatically with Object Selection Tool
What it does:
Select and remove unwanted objects quickly using AI-powered recognition.
How to use it:
- Select the Object Selection Tool (W) .
- Draw a rough shape around the object you want to remove.
- Press Delete or go to Edit > Content-Aware Fill .
- Photoshop removes the object and fills the space naturally.
📌 Best for: Removing distractions like wires, people, or signs.
4. Refine Edges with Select Subject
What it does:
Automatically detect and select the main subject in a photo using AI.
How to use it:
- Go to Select > Subject .
- Photoshop instantly identifies and selects the primary subject.
- Refine edges using Select and Mask for perfect cutouts.
📌 Best for: Product photography, creating social media posts, or isolating subjects.
5. Auto-Colorize Black-and-White Photos
What it does:
Use third-party AI tools or plugins to colorize old black-and-white images.
While Photoshop doesn’t yet offer native AI colorization, you can:
- Export your image to AI platforms like:
- Algorithmia
- DeOldify Online
- MyHeritage In Color
- Import the colorized image back into Photoshop for final touch-ups.
📌 Best for: Restoring vintage photos or adding realism to old images.
🚀 Final Tips for Using AI in Photoshop
- Always work on duplicate layers when using AI edits.
- Combine AI tools with manual adjustments for the best results.
- Keep your Creative Cloud subscription active to access online AI features.
- Stay updated—Adobe frequently adds new AI-powered tools.
❓ Frequently Asked Questions (FAQs)
Q1: Do I need an internet connection to use AI in Photoshop?
A: Some AI features like Generative Fill and Neural Filters require an internet connection because they process data in the cloud.
Q2: Is AI in Photoshop free to use?
A: Features like Neural Filters and Generative Fill are available to Creative Cloud subscribers . Adobe offers limited monthly compute hours for free; additional usage may require a paid plan.
Q3: Can AI replace traditional Photoshop skills?
A: No. AI speeds up repetitive tasks, but creativity, design sense, and fine-tuning still require human input. Think of AI as your assistant—not your replacement.
Want more tips on using AI in Photoshop and other Adobe apps? Subscribe to our newsletter and get weekly tutorials delivered straight to your inbox!
0 Comments