


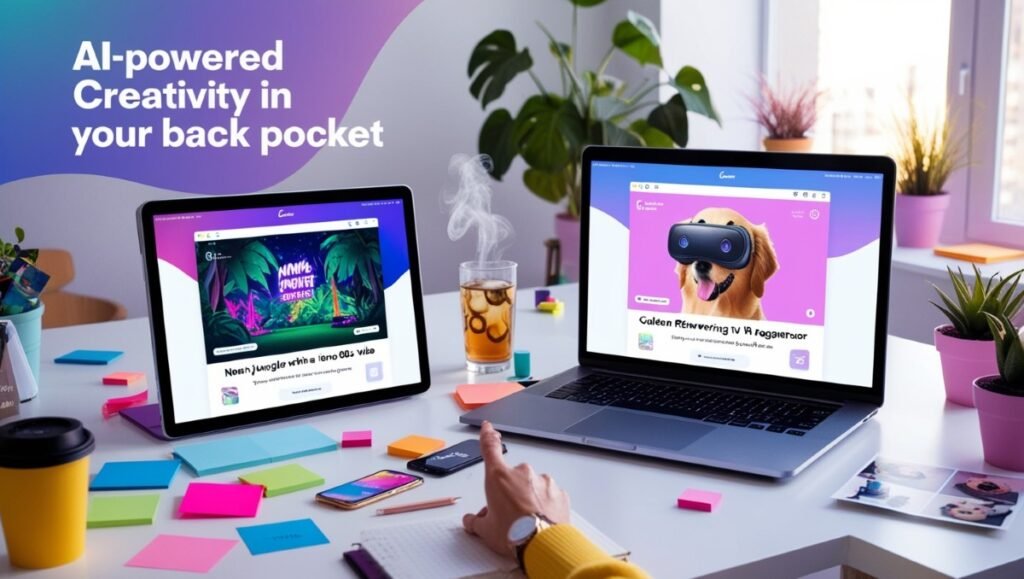
Canva has integrated powerful Artificial Intelligence (AI) features that make design faster, smarter, and accessible to everyone—even if you’re not a designer. Whether you’re creating social media posts, presentations, resumes, or marketing materials, learning how to use AI in Canva can help you:
- Generate designs from text prompts
- Write compelling copy with AI
- Remove backgrounds instantly
- Resize and optimize images automatically
- Get smart layout suggestions
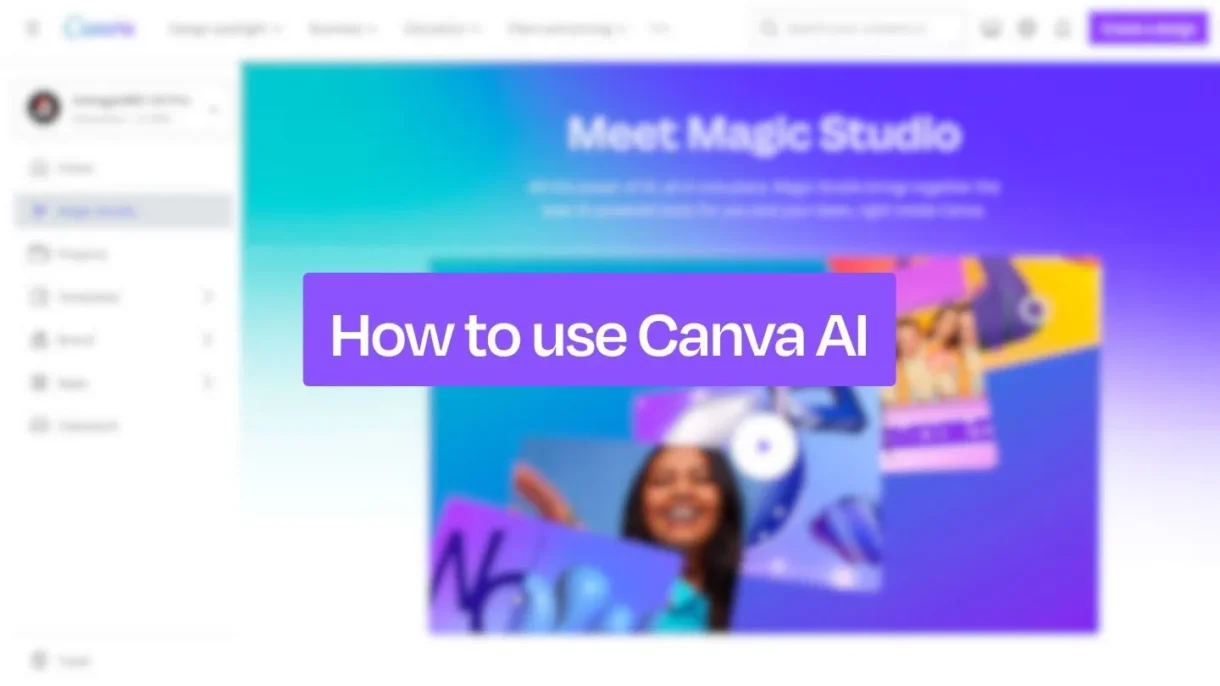
Step-by-Step: How to Use AI in Canva
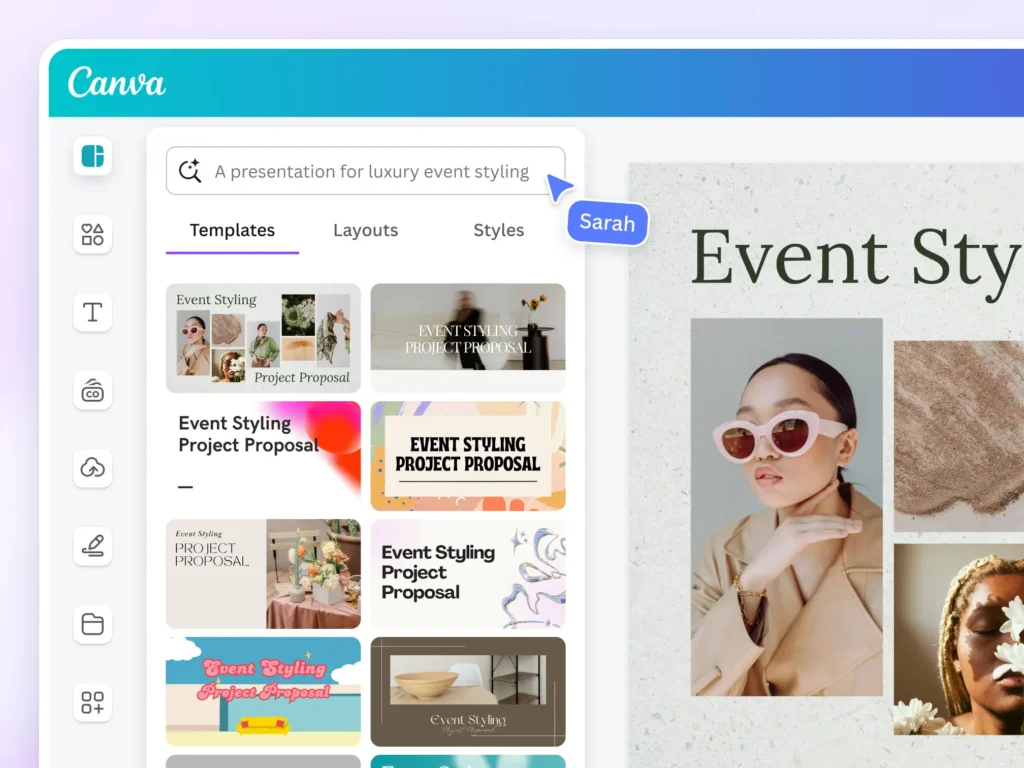
1. Use “Text to Design” to Generate Full Designs Automatically
What it does:
Type a description and let AI create a complete design for you—from social media posts to flyers and presentations.
How to use it:
- Go to Canva.com and sign in.
- Click “Create a Design” > “Text to Design” .
- Type what you want, e.g., “A minimalist Instagram post about healthy breakfast ideas.”
- Canva will generate multiple design options based on your prompt.
- Choose one and customize it further as needed.
📌 Best for: Beginners and fast content creation.
2. Write Copy with Magic Write (AI Writing Tool)
What it does:
Magic Write helps you write descriptions, captions, headlines, and even short essays directly inside Canva.
How to use it:
- Open any design project in Canva.
- Click the Magic button (wand icon) in the top toolbar.
- Select “Magic Write” .
- Type a request like:
- “Write a product description for eco-friendly bamboo toothbrushes.”
- “Rewrite this headline to be more engaging.”
- Let AI generate text and insert it directly into your design.
3. Remove Backgrounds Automatically with One Click
What it does:
Canva uses AI to remove image backgrounds instantly—no Photoshop required.
How to use it:
- Upload or select an image in your design.
- Click the image > choose “Edit Image” .
- Select “BG Remover” .
- Wait a few seconds while AI removes the background.
- Save and use your transparent-background image.
📌 Best for: Creating clean product shots, logos, and overlays.
4. Resize Designs Automatically with Magic Resize
What it does:
Automatically adjusts your design layout to fit different sizes—perfect for repurposing content across platforms.
How to use it:
- Finish designing your post (e.g., Instagram square).
- Click “Resize” in the top toolbar.
- Choose another size (e.g., Instagram Story or Facebook Post).
- Canva resizes and rearranges elements intelligently.
💡 Tip: Works best with simple layouts and minimal text.
5. Enhance Images with AI-Powered Filters & Enhancements
What it does:
Apply AI filters that enhance lighting, colors, and clarity in your photos.
How to use it:
- Click an image > “Edit Image” .
- Try enhancements like:
- Auto – Auto-adjusts brightness, contrast, and color balance.
- Sharpen – Makes blurry images clearer.
- Blur – Adds artistic depth-of-field effects.
- Preview and apply changes.
🚀 Final Tips for Using AI in Canva
- Combine AI tools with your own creativity for best results.
- Save your favorite AI-generated designs as templates.
- Use Magic Write to brainstorm ideas quickly before finalizing copy.
- Always review AI-generated content for accuracy and brand tone.
- Keep your Canva app updated to access new AI features.
❓ Frequently Asked Questions (FAQs)
Q1: Is Canva’s AI free to use?
A: Yes! Many AI features like Magic Write , Text to Design , and Background Remover are available in the free version of Canva. Some advanced tools may require Canva Pro.
Q2: Do I need design skills to use AI in Canva?
A: No! That’s the beauty of AI in Canva—you can create stunning visuals without any prior design experience.
Q3: Can I edit AI-generated designs in Canva?
A: Absolutely! All AI-generated designs are fully customizable—you can change fonts, colors, images, and layout elements just like regular Canva designs.
Want more tips on using AI in Canva and other creative tools? Subscribe to our newsletter and get weekly tutorials delivered straight to your inbox!
0 Comments