


Adobe Photoshop has introduced AI Expand , a powerful feature that uses artificial intelligence to automatically extend or expand parts of your images. Whether you’re working on product photography, landscape editing, or creative design, AI Expand can help you save time and achieve professional results without extensive manual work.
Here’s how to use AI Expand in Photoshop effectively in 2025.
Step 1: Ensure You Have Access to AI Features
AI Expand is part of Adobe’s Generative Fill tool, which requires:
- A Creative Cloud subscription (Photoshop CC or higher)
- The latest version of Photoshop installed
If you don’t have access, consider upgrading your subscription or checking for updates.
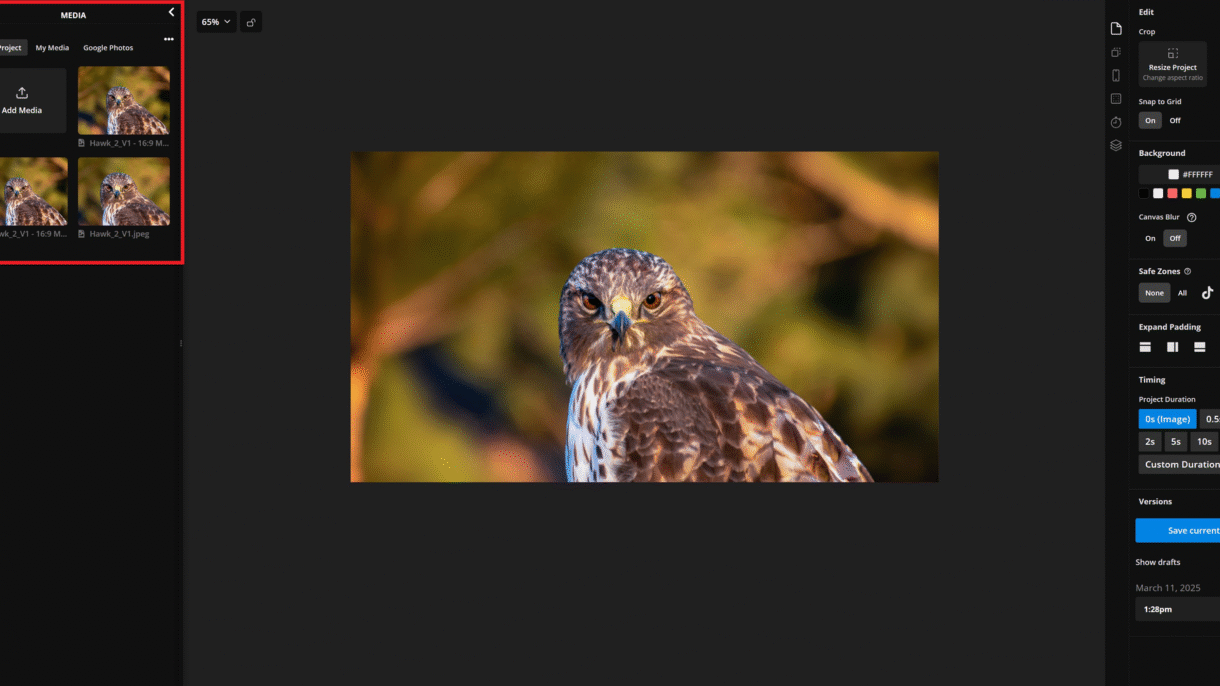
Step 2: Open Your Image in Photoshop
- Launch Adobe Photoshop and open the image you want to edit.
- Navigate to the Edit tab at the top of the interface.
Step 3: Select the Area to Expand
Before using AI Expand, decide which part of the image you want to extend. This could be:
- Backgrounds that need more space
- Product photos where you want to remove shadows or add extra room around objects
- Landscapes that require additional sky, water, or terrain
Steps:
- Use the Rectangular Marquee Tool or Lasso Tool to select the area you want to expand.
- Make sure the selection includes enough context for AI to understand what needs to be extended.
Step 4: Access Generative Fill (AI Expand)
Once your selection is ready:
- Go to the Edit > Fill > Generative Fill option.
- Alternatively, click the Generative Fill icon in the toolbar (it looks like a magic wand).
Step 5: Let AI Expand Work Its Magic
After selecting Generative Fill :
- Photoshop will analyze the selected area and suggest an expansion based on the surrounding context.
- You’ll see a preview of the expanded section — it might take a few seconds depending on the complexity.
Tips:
- If the result isn’t perfect, try adjusting the Blend Mode or Content Aware Fill options.
- For best results, ensure your selection includes clear visual cues for AI to follow.
Step 6: Refine and Finalize Your Edit
Once AI Expand generates the new content:
- Review the expanded area to ensure it blends seamlessly with the original image.
- Use traditional Photoshop tools (like the Clone Stamp Tool or Brush Tool ) to touch up any edges or details.
- Save your final image as usual by going to File > Save As .
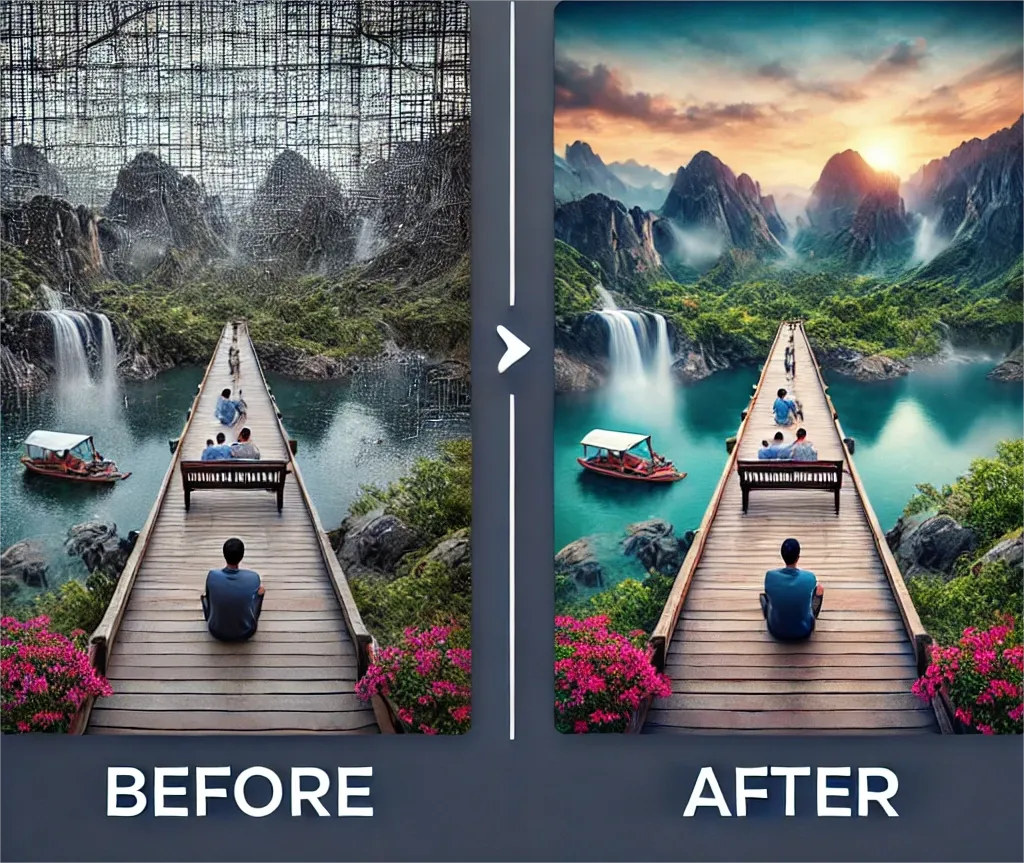
Practical Examples of Using AI Expand
Here are some real-world scenarios where AI Expand shines:
- Product Photography : Remove shadows or add more space around products for e-commerce listings.
- Landscape Editing : Extend skies, water, or terrain to make landscapes feel more expansive.
- Composite Images : Blend multiple elements together by expanding backgrounds or foregrounds.
FAQs: Frequently Asked Questions About Using AI Expand in Photoshop
Q1: Is AI Expand available in all versions of Photoshop?
No, AI Expand is part of the Generative Fill feature, which requires a Creative Cloud subscription. Free versions of Photoshop do not include this feature.
Q2: Can AI Expand fix poor-quality images?
While AI Expand can extend areas, it doesn’t improve overall image quality. It works best with high-resolution images that have clear context for expansion.
Q3: Does AI Expand always produce perfect results?
Not always. Results depend on the clarity of your selection and the context provided. Some adjustments may still be needed manually.
Conclusion
AI Expand in Photoshop is a game-changer for photographers, designers, and editors looking to streamline their workflow. By automating tedious tasks like extending backgrounds or removing unwanted elements, AI Expand helps you focus on creativity rather than technical challenges. Experiment with this powerful tool to elevate your projects and save valuable time.
0 Comments