

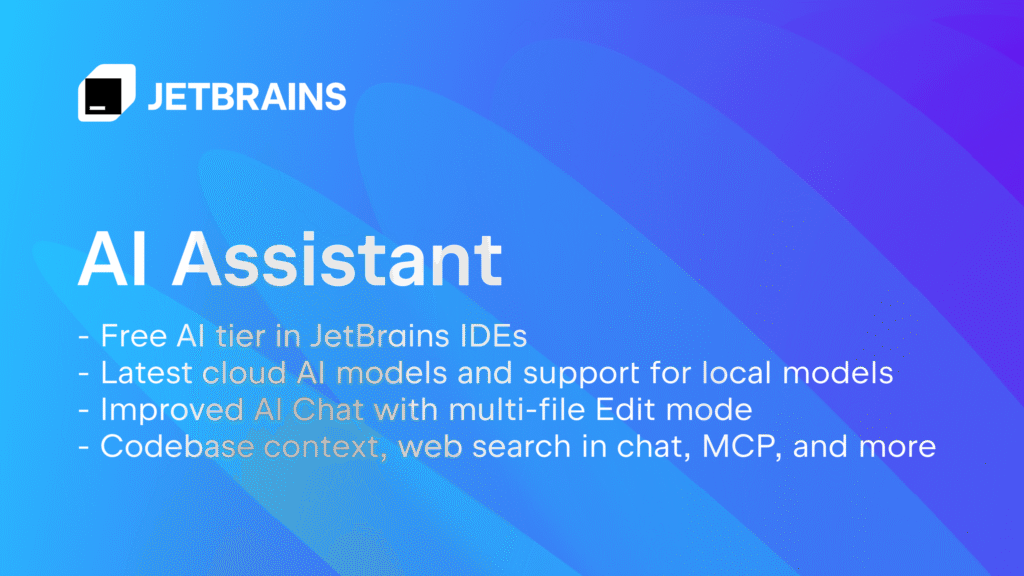
JetBrains has taken a major step forward in developer productivity by introducing the JetBrains AI Assistant — a built-in AI-powered tool that helps developers write better code, understand complex logic, and debug faster directly within popular IDEs like IntelliJ IDEA, PyCharm, PhpStorm, WebStorm, and Rider .
Whether you’re a beginner or an experienced developer, learning how to use the JetBrains AI Assistant can significantly speed up your coding process and reduce cognitive load.
Let’s explore how to make the most of this powerful feature.
The JetBrains AI Assistant is an integrated AI coding assistant that provides:
- Smart code completion
- Inline explanations and documentation
- Bug detection and fixes
- Context-aware suggestions
- Natural language prompts for generating code
It works across multiple languages including:
- Java
- Python
- JavaScript/TypeScript
- Kotlin
- SQL
- HTML/CSS
- And more
This assistant is powered by JetBrains’ own models and integrates with external providers like GitHub Copilot , Amazon CodeWhisperer , and soon, Gemini and Llama 3 support.
Here’s how to set up and use the JetBrains AI Assistant effectively:
1. Enable the AI Assistant in Your JetBrains IDE
Starting from IntelliJ IDEA 2024.1 and newer versions , the AI Assistant is available as a plugin.
To enable it:
- Open your JetBrains IDE
- Go to Settings > Plugins
- Search for “AI Assistant”
- Install the plugin and restart the IDE
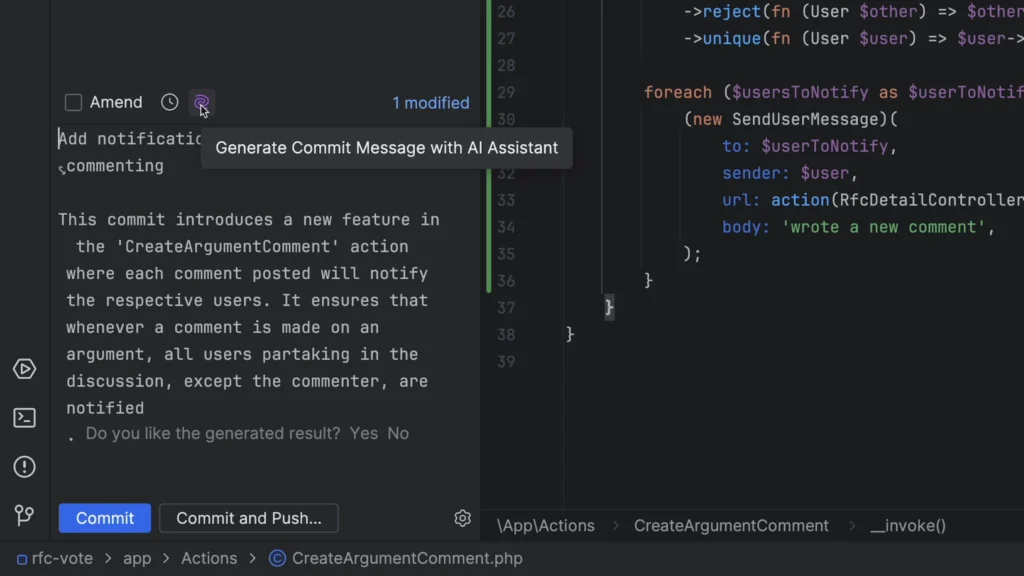
Once installed, the AI Assistant will be available through the context menu , inline suggestions , and a dedicated chat window.
2. Ask Questions About Your Code
One of the most useful features is being able to ask questions about your code in natural language .
How to use:
- Highlight a section of code
- Right-click and choose “Ask AI Assistant”
- Type a question like:
- “Explain what this function does”
- “Make this function more efficient”
- “Rewrite this Python script to use async”
The AI will analyze your code and provide helpful insights — ideal for debugging, refactoring, or understanding unfamiliar logic.
🧠 Pro Tip: You can also ask general programming questions without highlighting code — just open the AI Assistant panel and type away!
3. Generate Code from Natural Language Prompts
You can generate full functions, classes, or scripts by simply describing what you want.
Try prompts like:
- “Write a Python function to sort a list of dictionaries by value”
- “Create a REST API endpoint for user registration in Node.js”
- “Generate a React component for a login form with validation”
The AI Assistant will suggest a draft that you can insert directly into your project — saving time and reducing boilerplate writing.
4. Get Inline Suggestions While Coding
As you type, the AI Assistant offers real-time, context-aware suggestions — much like GitHub Copilot but with deeper understanding and explanation capabilities.
To activate:
- Start typing a function or block of code
- Press Ctrl + Alt + Shift + A (Windows/Linux) or Cmd + Option + A (macOS)
- Let the AI suggest improvements or next steps
This is especially useful when working with unfamiliar APIs or debugging legacy code.
5. Explain, Refactor, or Improve Existing Code
JetBrains AI Assistant can help you understand and improve existing codebases.
Right-click any method or class and select:
- “Explain this code”
- “Improve variable names”
- “Add comments”
- “Fix potential bugs”
This makes it easier to onboard new team members, maintain large projects, and ensure code quality.
6. Chat with the AI Assistant
In addition to inline actions, JetBrains provides a dedicated chat interface where you can:
- Ask general programming questions
- Discuss architecture choices
- Debug issues step-by-step
- Learn best practices for your current project
Access the chat via:
- Tools > AI Assistant > Open AI Assistant Tool Window
From there, you can have a conversation with the AI, similar to using ChatGPT or Gemini — but tailored to your specific codebase and tech stack.
7. Customize AI Settings
JetBrains allows you to customize how the AI Assistant behaves:
- Choose default AI provider (e.g., JetBrains own model or partner integrations)
- Set preferred coding style
- Adjust verbosity of responses
- Enable/disable auto-suggestions
Go to Settings > AI Assistant to fine-tune your experience based on your workflow and preferences.
Final Thoughts
The JetBrains AI Assistant is more than just another autocomplete tool — it’s a smart companion for developers , helping you write, explain, refactor, and learn code faster than ever before.
Whether you’re building web apps, mobile apps, or backend services, integrating the AI Assistant into your workflow can boost your productivity and reduce friction during development.
Ready to code smarter? Make sure you’re using the latest version of your JetBrains IDE and start exploring the AI Assistant today!
📷 Want more JetBrains tips? Follow us for weekly updates on AI tools, IDE enhancements, and how to master your favorite JetBrains IDE.
Frequently Asked Questions
Is JetBrains AI Assistant free to use?
Some basic features are included in the free tier , but advanced functionality may require a JetBrains All Products Pack subscription or integration with paid AI services like Amazon CodeWhisperer or GitHub Copilot.
Which JetBrains IDEs support the AI Assistant?
Currently available in IntelliJ IDEA 2024.1+ , PyCharm 2024.1+ , WebStorm 2024.1+ , and other recent JetBrains IDEs. More will follow in future releases.
Can I use my own AI model with JetBrains AI Assistant?
JetBrains supports integration with third-party AI providers , so you can connect custom or enterprise-grade models if needed.
0 Comments